
What to Do When Cloud Comes Down on the Fells
The Moment the Cloud Drops
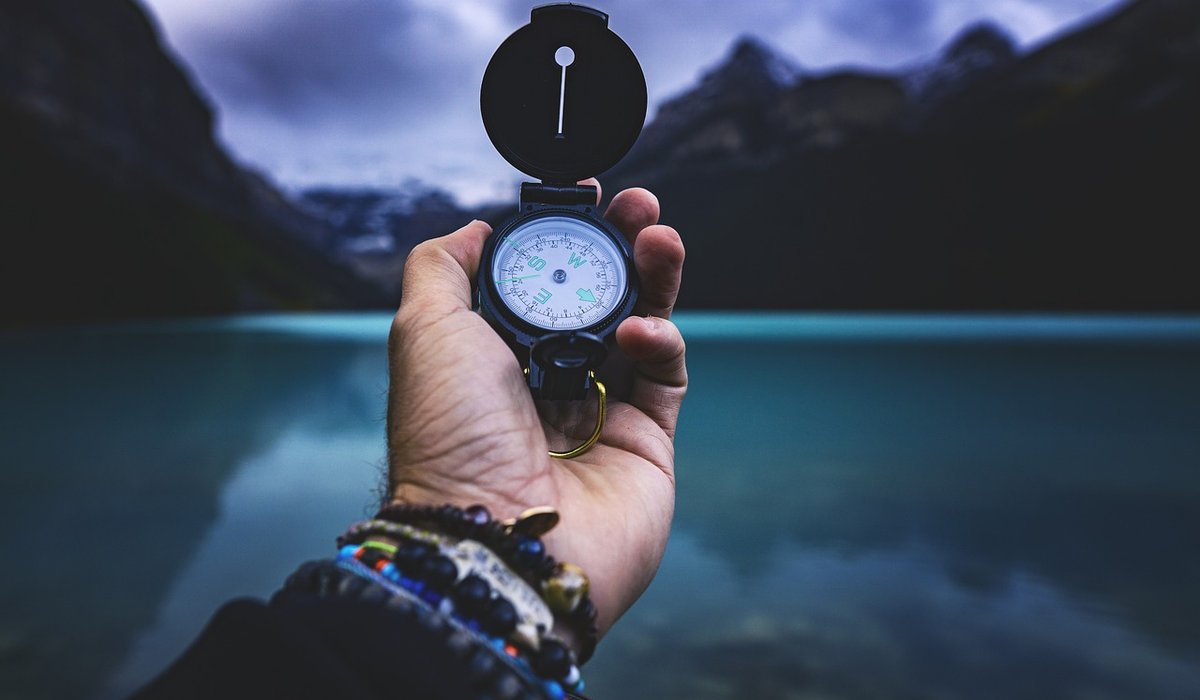
One minute you can see the whole valley, the next the world turns grey and damp. On British hills, cloud can descend in minutes, and a clear path becomes a disorientating white room. The first thing to do is stop — deliberately, not in a panic. Put on a warm layer and your waterproofs before you get cold. Eat and drink something. Get your map and compass out of your rucksack, not a pocket where they might have got wet.
It is easy to keep walking on hope, telling yourself the cloud will lift. That is how people get lost. Accept the situation: you are now navigating in poor visibility, and that means slowing down. Even experienced fell walkers stop, check, and take their time. There is no shame in it.
Fix Your Position Before You Move
You cannot navigate from an unknown point. Before you move, work out where you are. Start with the last place you were certain of: a junction, a summit cairn, a stream crossing, a bend in a wall. How long ago was that? How fast have you been walking? On rough ground, most people cover two to three kilometres per hour, so your rough position is a circle on the map.
Now use the terrain. Even in cloud you might spot a faint path, a fence line, a large boulder, or a change in slope. If you can see a feature that is also on the map, take a back bearing. Point the compass at it, note the bearing, then subtract 180 degrees. That line passes through your position. Combine it with your time and pace estimate. Be honest about uncertainty. If unsure, treat your last known point as your true position and start from there.
Set a Bearing and Commit to It
Choose a target you can identify on the map: a path junction, a stream, a wall corner, a shelter, a summit. Short legs of 200 to 500 metres are safer than one long gamble. Place the compass on the map with the edge along the line from your position to the target. Turn the bezel until the orienting lines align with the grid lines and the arrow points north on the map.
You now have a grid bearing. To convert it to a magnetic bearing, use the grid magnetic angle printed in your map margin. In the UK it is small, often zero to three degrees, but it matters over distance. Add it if the margin says “add”, subtract if it says “subtract”. Set the corrected bearing on the compass. Hold it flat in front of you, turn your body until the red needle sits inside the orienting arrow, and you are facing your direction of travel.
Walk Slowly on Compass Alone
Walking on a bearing is not a race. Keep the compass flat and level, and glance at it every few steps. Do not stare at the needle; look up, pick a feature in the mist if there is one, and walk towards it. If there is nothing, walk a short distance, then check again. Counting paces helps you measure distance. On average, 60 to 70 double paces equal 100 metres on level ground, but adjust for your stride and the terrain.
Use aiming off. Instead of aiming at a small target like a stream bend, aim deliberately 100 metres to one side. When you hit the stream, you know which way to turn. Use handrails too. A wall, fence, or stream is a linear feature you can follow, even if it is not the most direct line. Slower, but far safer than wandering across open moor.
What to Do When You Hit a Feature
When you reach a known feature, stop and reorient. Check map and compass again. If it is a shelter, bothy, or dense trees, use it. Get out of the wind, put on dry layers, and have a hot drink. If you have not found your target, do not keep walking blindly. Stop, reassess, and take a new bearing from a feature you can now identify.
If darkness is falling, or someone is cold, tired, or frightened, stop and shelter. Call 999 and ask for Mountain Rescue. Give a grid reference, a description of your location, and the condition of your group. Use a whistle: six blasts, pause, repeat. Put on a headtorch. Staying put in a sheltered spot is often better than stumbling on.
Keeping Warm, Calm and Together
Cloud often lifts as quickly as it came, but you cannot rely on that. Keep your group close. In poor visibility, the person at the back can drift out of sight. Share the navigation: one person walks on the bearing, another checks the map and pace count. Agree on turn-around times before you set out, and stick to them.
- Emergency shelter and spare warm layers
- Food, water and a flask — hot tea is not a luxury on a British hill in cloud
- Torch, whistle and compass — checked and working before you set out
Turning back is a skill, not a failure. The fells will still be there next weekend. Walk slowly, trust your compass, and you will get down safely.


Know the difference between public footpaths, bridleways and open access land before you cross farmland or climb stiles.
Gradually increase distance, add steep inclines and carry a loaded rucksack to prepare your legs for long fell days.
Practise taking bearings, estimating distance and identifying handrails so you can navigate confidently without relying on a phone.
Look for taped seams, adjustable hoods and breathable fabrics that keep rain out without trapping sweat on steep climbs.